How to Set Up a Bioactive Enclosure for Chameleons

Published February 10, 2026
When it comes to keeping chameleons happy and healthy, their enclosure isn't just a home - it's a living environment that can make a big difference in their wellbeing. Bioactive enclosures aim to recreate a small, self-sustaining ecosystem inside your terrarium, blending live plants, beneficial soil creatures, and natural substrates. This approach mirrors the chameleon's natural habitat much more closely than traditional setups, especially for those of us caring for these vibrant reptiles in New York's unique indoor climates.
Building a bioactive enclosure might sound complex at first, but with clear steps and the right know-how, it's absolutely achievable. Beyond looking beautiful, these living habitats offer benefits like improved humidity control, reduced cleaning frequency, and opportunities for your chameleon to express natural behaviors. Let's break down how this setup works, why it matters for your panther chameleon's health, and what you need to get started on creating a thriving bioactive home.
Why Choose Bioactive Terrariums? Key Benefits for Panther Chameleons
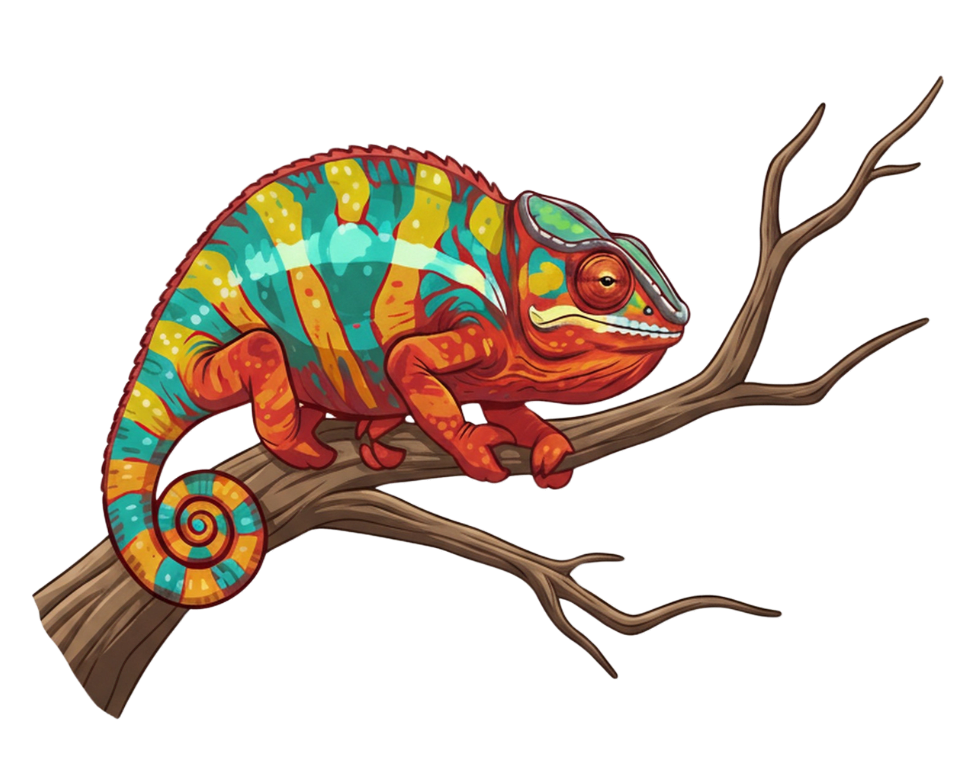
Panther chameleons are built for life in dense, living canopies. A bioactive terrarium brings a slice of that structure indoors, instead of asking them to cope with bare branches over a sterile floor. The result is a habitat that functions more like a small ecosystem than a decorated box.
The first big gain is environmental enrichment. Living plants, textured branches, and varied substrate layers give your chameleon more to visually track and navigate. That constant low-level stimulation matters for a species that spends its days scanning leaves, hunting, and choosing perches. A flat, artificial setup tends to produce repetitive routes and long, dull hours on one favorite branch.
Bioactive enclosures also support more natural behavior. Small invertebrates in the cleanup crew move through the leaf litter and soil, creating occasional bonus hunting opportunities. Dense plant cover lets the chameleon choose how exposed it feels: bask in the open, hide behind foliage, or sleep tucked into a cluster of leaves. That control over visibility often lowers stress levels compared with wide-open, minimal builds.
On the health side, a planted, layered substrate acts like a buffer for humidity and temperature. Moist lower layers release water slowly, which steadies humidity between mistings in a heated New York home. Healthy soil biology also supports waste breakdown: microfauna and beneficial microbes process shed skin, feces, and dropped feeders instead of letting them sit and rot on bare plastic.
This natural waste cycle does not replace cleaning, but it stretches the time between deep tear-downs. Spot cleaning plus regular pruning usually keeps a long-term care bioactive chameleon habitat stable and less disruptive for the animal.
There is also a simple visual benefit. A mature bioactive enclosure resembles a piece of humid forest, not hardware on a shelf. It turns daily checks, misting, and feeding into time spent observing a living scene.
To make these benefits reliable instead of hit-or-miss, the build has to be planned from the ground up. The next section walks through the core bioactive enclosure substrate layers, planting choices, and hardware layout that suit panther chameleons.
Step-by-Step Setup: Building a Bioactive Enclosure for Panther Chameleons
Start with the enclosure itself. For an adult panther chameleon, use a vertical setup with strong airflow and room for tall plants. Screen-front hybrids or full-screen cages work well in heated homes, but in dry winter apartments you may want at least some solid sides to slow moisture loss. Aim for enough height that you can build deep substrate and still keep basking branches well above the soil surface.
1. Plan drainage and substrate layers
Bioactive enclosures rise or fall on the base layers. You are building three main zones: drainage, soil, and leaf litter. Each layer protects the one above it and keeps roots, microfauna, and bacteria working instead of drowning.
Drainage layer: Lay down a few inches of lightweight stone or expanded clay balls. This catches excess water from misting so the soil does not stay waterlogged. On top of that, place a sturdy barrier mesh or landscape fabric. The barrier stops soil from sinking into the drainage, but still lets water move down.
Bioactive soil layer: On the mesh, add a deep mix designed for reptiles, not garden soil from outside. A good bioactive substrate for chameleons drains well, holds moisture in the lower zones, and has enough structure to support plant roots. Many keepers use a blend of organic topsoil (no fertilizers), coco fiber, and a gritty component like sand or fine orchid bark. Go for at least four to six inches so roots and isopods have space to work.
Leaf litter layer: Finish with a thick mat of dried leaves over most of the soil. This is not just decoration. Leaf litter protects the surface from drying out, feeds isopods and springtails, and gives microfauna a place to hide. It also helps stabilize humidity during those dry indoor heating months in New York.
2. Choose and place plants for a climbing species
Panther chameleons use plants as highways and hiding spots, so pick sturdy varieties with strong stems and dense foliage. Common choices include pothos, umbrella plants, and ficus. Mix broad-leaf plants for cover with vining plants that can drape between perches.
Keep roots in the bioactive substrate whenever possible instead of in separate pots. Strong roots tie the soil together, prevent erosion during heavy misting, and feed the soil community over time. Plant taller specimens toward the back and sides so branches can weave through them, leaving some open space for basking near the top.
After planting, pack soil gently around roots, then pull leaf litter back into place. Expect plants to sulk a little at first while they adjust to indoor light and humidity; bioactive setups from East Coast Chameleons usually take a few weeks to look settled rather than freshly planted.
3. Add the cleanup crew
Once the substrate is in and plants are watered in, introduce the cleanup crew. Start with springtails as your first line against mold in damp areas. Then add isopods that suit the moisture level of your enclosure. In deeper, well-hydrated soil, many medium-sized species do well; in drier builds, choose hardier types that tolerate less constant moisture.
Scatter them over the soil and under the leaf litter. They will dig down and spread on their own. Give the system a week or two with only low light and regular misting so the microfauna population can settle before a chameleon goes in.
4. Branches, lighting, and humidity for New York conditions
With the ground layer active, build the climbing network. Use a mix of natural branches at different diameters, anchored firmly so they do not shift when the chameleon moves. Create a main basking route high in the enclosure with side paths that duck into foliage and back out again.
For lighting, pair a correct-strength UVB source with a basking bulb that makes a warm, focused zone near the top branches. Keep fixtures outside the enclosure to protect both the animal and the plants from direct contact. In winter, when indoor air dries out, rely on deep misting sessions and, if needed, a fogger that runs during the coolest nighttime hours. In humid summers, you may need extra ventilation or a small fan across the top screen to keep air fresh while still letting the bioactive base hold a stable moisture gradient.
Expect the initial setup and cycling period to take several weeks. During that time, you are tuning misting schedules, watching how the substrate drains, and seeing which plants take off. That patience pays off: once stable, bioactive enclosure maintenance becomes more about light pruning, spot cleaning, and occasional soil checks than repeated full tear-downs.
Maintaining Your Bioactive Chameleon Habitat Long-Term
Once the plants, substrate, and cleanup crew are established, long-term success comes down to steady, low-drama routines. The goal is to support the mini-ecosystem so it does most of the work while you correct its drift.
Moisture and humidity checks
Substrate moisture drives almost everything in a bioactive terrarium setup for panther chameleons in New York. Do a quick finger test every few days: the top leaf litter can feel dry, but an inch or two down should feel cool and slightly damp, not soggy. If the soil is drying out through the whole depth, lengthen misting sessions or add a targeted pour of water into one corner so you do not swamp roots.
Humidity swings are common in heated homes. In winter, watch for cracked leaf edges, soil that pulls from the glass, and a humidity reading that crashes between mistings. To steady that, deepen the leaf litter, shift one side of the cage away from direct vents, and let at least one plant cluster grow denser to hold moisture. In muggy weather, do the opposite: open up foliage a bit, shorten misting, and lean on airflow from the screen top to prevent a constantly wet surface.
Mold and algae control
Bioactive does not mean mold-free, it means mold under control. A light white fuzz on fresh wood or new leaf litter is normal in a young setup. Let springtails and isopods work first; they often clear it on their own. If a patch thickens or reaches areas your chameleon uses often, gently wipe that spot with a paper towel and improve air movement to that zone rather than blasting the whole enclosure.
Algae on glass near the substrate usually points to tight, wet corners. Scrape it during regular checks and ease back direct spraying on that spot. Avoid chemical cleaners inside the habitat; a damp cloth or dedicated scraper keeps disruption low.
Plant pruning and health
Live plants will try to fill all available space. Once a month, step back and look at the structure instead of individual leaves. Trim only where growth blocks basking light, crowds a key pathway, or traps too much moisture around perches. Cut stems cleanly above a node so the plant recovers quickly.
Yellowing lower leaves often signal either waterlogged roots or old growth shaded out by new foliage. Remove dead or soft leaves before they collapse into the soil, then check drainage and adjust watering, not just misting, to keep roots firm.
Cleanup crew upkeep
Bioactive enclosure maintenance depends on a steady cleanup crew. Every few weeks, lift a small patch of leaf litter and watch the soil surface. You should see springtails scatter and isopods meander through the top layer. If numbers thin out, top off leaf litter and add a small piece of decaying wood or a bit of fish food in one hidden corner as a booster food source.
Replenish the crew a few times a year, especially after heavy pruning, soil disturbance, or if you have had to dry the enclosure more aggressively to solve a problem. Introduce them gently onto the soil and cover with leaves so they settle quickly.
Cleaning with minimal stress
With a stable system, deep cleaning stays rare. Most work lands in short, quiet sessions:
- Daily to every other day: Remove visible feces from leaves and branches, pick out uneaten feeders, and empty the drainage tray if you use one.
- Weekly: Wipe nose prints and water spots from the inside of the front glass, trim a few overreaching vines, and stir a tiny section of leaf litter to keep the surface from crusting.
- Monthly or so: Thin plants, add fresh leaves, and check that branches and hardware mounts are still solid.
For most of these tasks, leave the chameleon in place. Move slowly, keep tools below its main perch height, and avoid sudden cage-wide rearrangements. If you must do larger work, plan it in one focused block instead of constant small changes that never let the animal settle.
Over time you will see how your specific enclosure responds to seasons, room changes, and growth. That feedback loop matters more than chasing perfect numbers. The earlier setup choices around drainage, planting, and hardware give you a forgiving base; ongoing maintenance is about gentle corrections that keep the habitat stable without tearing down the living system you built.
Common Challenges and Solutions with Bioactive Enclosures for Panther Chameleons
Even a well-planned bioactive build throws curveballs. None of them mean you failed; they just mean the system is still settling. The key is to notice patterns early and adjust instead of starting over every time.
Substrate compaction and poor drainage
Compacted soil shows up as standing water after misting, stubborn wet pockets, or roots that stay pale and weak. Over time, this suffocates plants and cleanup crews.
- Loosen in sections: Use a chopstick or blunt tool to gently poke air channels in the top few inches, working one corner at a time.
- Refresh structure: When an area stays heavy and sticky, scoop out a portion and mix it with fresh, gritty bioactive substrate before putting it back.
- Check drainage depth: If the bottom layer is too shallow, future rebuilds should include more drainage media rather than more misting hardware.
Mold outbreaks that go beyond the "normal fuzz" stage
Short bursts of white fuzz on new wood or leaf litter are common in fresh bioactive terrariums for chameleons. Problems start when patches thicken, spread, or climb onto regular perches.
- Physically remove heavy growth on branches and décor your chameleon uses daily.
- Thin leaf litter slightly in wet corners and aim misting away from that zone so it dries between sessions.
- Boost springtails in problem spots; add a starter culture under damp leaves rather than dumping them on bare glass.
- Increase airflow without dropping humidity completely by angling a small fan across the top screen instead of at the cage sides.
Plant selection and placement mistakes
Common issues with live plants in chameleon enclosures include weak stems that fold under the animal's weight, plants that shed sticky sap, or foliage that blocks basking light.
- Prioritize sturdy, non-toxic species with woody stems or thick vines for main "highways." Use delicate plants only as background filler.
- If a plant leans or uproots when climbed, replant it deeper, stake the stem, or move it away from prime traffic routes.
- When growth shades the basking zone, prune back just enough to reopen a clear light path rather than hacking the plant to a stump.
Enclosure size and bioactive depth
Smaller cages and baby setups often do not allow the same deep bioactive enclosure substrate layers used in tall adult habitats. That can leave keepers worried about stability.
- In shallow builds, go for a lean bioactive base: modest soil depth, lighter misting, and extra leaf litter to buffer moisture.
- Keep heavy branches up and away from the substrate so impacts do not compact the soil or crush root systems.
- Accept that tight spaces need more frequent manual waste removal even with a cleanup crew; bioactive is supporting you, not replacing you.
Setbacks are normal, especially in the first few months. Treat each issue as feedback from the system, not a verdict on your skills. Over time, adjustments become second nature, and specialist guidance from breeders who run bioactive daily, like East Coast Chameleons, shortens the learning curve while keeping both chameleon and enclosure on track.
Creating and maintaining a bioactive enclosure is a rewarding way to provide your panther chameleon with an environment that closely mirrors its natural home. By layering proper substrates, selecting suitable plants, and fostering a thriving cleanup crew, you build a living system that supports your chameleon's health, behavior, and stress levels in New York's unique indoor conditions. Remember, steady observation and gentle adjustments are key to keeping this mini-ecosystem balanced over time. With patience and consistent care, bioactive setups become less about heavy maintenance and more about enjoying the natural rhythms of your pet's habitat. If you're looking for guidance that's tuned specifically to local conditions and your chameleon's needs, the specialized support available through East Coast Chameleons can make all the difference. Don't hesitate to get in touch or connect with the community for advice tailored to your setup - help is always here, and your chameleon's wellbeing is worth it.